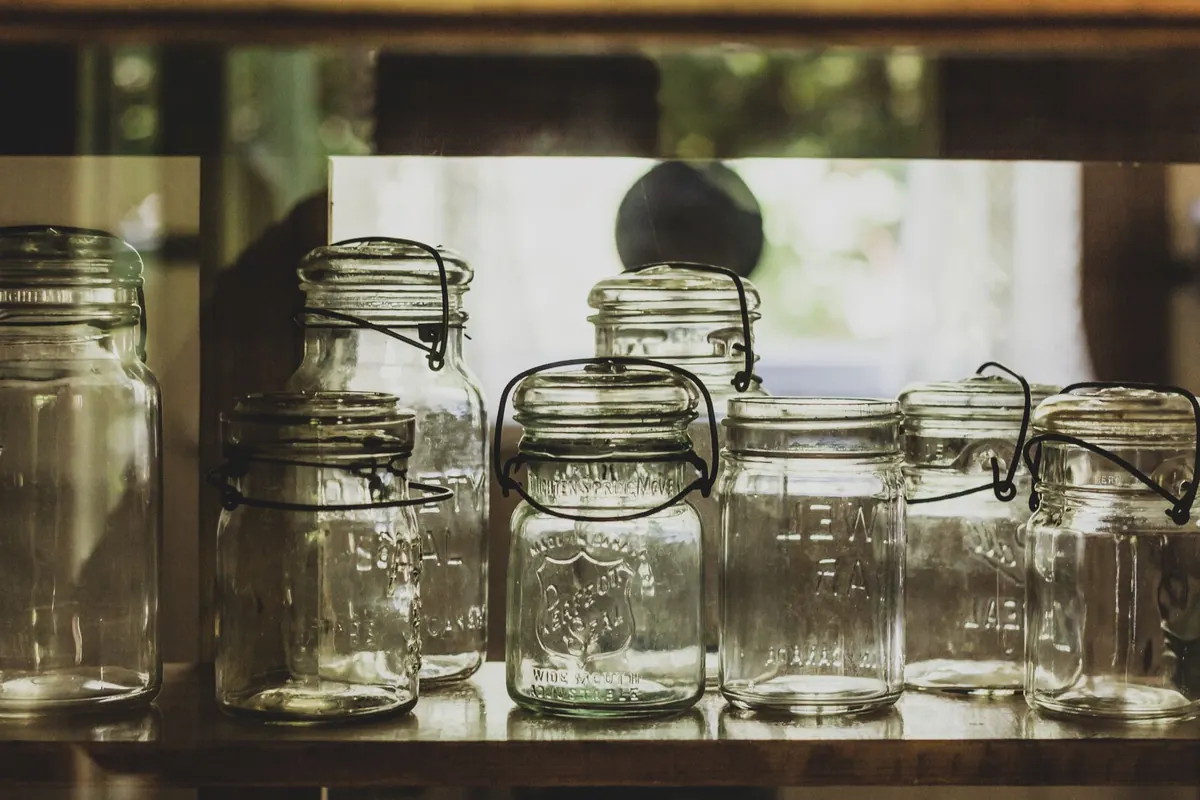
The tomatoes arrive fast in late August. One week the pantry shelves are stacked with cucumbers, the next it's peaches, and by October someone has dropped off forty pounds of apples. Water bath canning is the simplest way to turn that glut into jars that will still be good in February. It needs no pressure equipment, just a deep pot, clean jars, and a tested recipe. Here is how to do it safely, and how to keep the shelf organized once the jars are cool.
Why Water Bath Canning Suits a Community Pantry
Water bath canning leans on one fact: boiling water kills the organisms that spoil high-acid food, and the acid keeps the dangerous ones from returning. Because the pot only reaches the temperature of boiling water, it works for acidic produce — fruit, pickles, jams, chutneys, and tomatoes with added acid — and not for low-acid vegetables like beans, corn, or plain pumpkin. Those need a pressure canner.
That limitation is also the appeal. Pickles, jam, applesauce, tomato sauce, and fruit in syrup are the things people actually take home and use. They stretch a seasonal donation into a year-round staple, and they're easy to make in batches with a few volunteers around a table.
What You Can and Cannot Process in a Water Bath
- Safe in a water bath: jams, jellies, marmalades, and fruit butters; whole and cut fruit in syrup; pickles and relishes; chutneys; salsa made from a tested recipe; and tomatoes, tomato sauce, or tomato juice with bottled lemon juice or citric acid added.
- Not safe in a water bath: green beans, corn, carrots, peas, plain pumpkin or squash, soups, stocks, meat, fish, and any mixed recipe containing them.
- Watch the sugar: jams and fruit butters rely on sugar and acid for both set and safety. Don't cut the sugar drastically unless the recipe is written for it.
The dividing line is acidity. Modern tomato varieties vary, which is why tested recipes call for added bottled lemon juice or citric acid rather than relying on the fruit alone. If you're unsure where a recipe falls, treat it as low acid: pressure can it, or freeze it instead. Use recipes from a university extension service, the USDA, or a current canning book. A random blog post or a family memory is not a tested recipe.
Equipment That Earns Its Shelf Space
- A stockpot deep enough to hold jars on a rack with one to two inches of water covering the lids.
- A rack that keeps jars off the bottom of the pot. Never set jars directly on the base, where they can crack.
- Jars with no chips, cracks, or deep scratches. Two-piece lids: rings can be reused, but the flat lids are single-use.
- A jar lifter, wide-mouth funnel, ladle, bubble tool or chopstick, clean cloths, and a timer.
Skip oven canning, "sealing" jars in the dishwasher, paraffin wax, and open-kettle methods that fill jars without processing them. None of those are considered safe. Check your local food safety rules before you distribute anything, since requirements vary by place and by whether jars are given away or sold.
A Basic Water Bath Method, Step by Step
- Choose one tested recipe and read it through twice before you start.
- Wash jars, rings, and lids in hot soapy water. Keep jars hot in a pot of simmering water until you fill them.
- Fill the canner with water and start heating it. For most recipes, you want the water hot but not yet boiling when jars go in.
- Prepare the produce exactly as the recipe says. Don't double the batch; two single batches behave better than one big one.
- Fill jars to the headspace the recipe specifies, usually a quarter inch for jams and half an inch for many other items. Use the funnel.
- Release trapped air with a bubble tool or chopstick, running it around the inside of the jar. Add more liquid if the level drops.
- Wipe the rim with a damp cloth. Any residue will prevent a seal.
- Center the flat lid, then screw the ring on fingertip tight — snug, not cranked down.
- Lower jars onto the rack so they don't touch each other. Add water to cover the lids by one to two inches. Put the lid on the pot.
- Start timing only when the water reaches a full rolling boil. Keep it boiling for the full time in the recipe.
- Turn off the heat, remove the pot lid, and let jars rest in the water five minutes before lifting them out.
- Set jars upright on a towel, well apart, and leave them undisturbed for twelve to twenty-four hours.
Safety Rules That Aren't Negotiable
Processing times change with jar size and altitude. Above 1,000 feet, water boils at a lower temperature, so tested charts add time or require pressure. Find your altitude and use the matching column rather than guessing. Never shorten a processing time because the jars look sealed.
After cooling, press the center of each flat lid. It should be curved down and stay that way. If a jar didn't seal, refrigerate it and use it soon. If a sealed jar later bulges, leaks, or smells wrong when opened, throw it out without tasting it — and never sample food from a jar with a broken seal to "check."
Labeling Jars for a Shared Shelf
A jar with no label is a jar nobody trusts. Write directly on the flat lid with a permanent marker, or use a paper label that peels off cleanly.
- What's inside, including variety or recipe name ("Spicy Dill Pickles," "Peach Halves in Light Syrup").
- Month and year made, plus a suggested use-by note for quality.
- Batch number and the initials of who processed it.
- Common allergens, such as mustard seed, celery seed, or sulfites in dried fruit.
Store jars without the rings. A loose ring can hide a failed seal, and it rusts in damp pantry air. Keep a simple logbook: recipe source, date, number of jars, and who ran the batch. Rotate stock first in, first out so older jars leave the shelf before newer ones, and set aside any jar that has been sitting past its quality window for pantry cooking demonstrations rather than distribution.
Start With One Fruit
Pick a single recipe you can make well — dill pickles, applesauce, or crushed tomatoes — and run twelve jars on a Saturday morning with two or three people. Write down what worked and what you'd change. Next season, add a second recipe. Ten reliable recipes and a clean logbook will do more for your pantry than a shelf full of unlabeled jars nobody wants to open.
Photo: Louise Cornelissen / Pexels